When we levelled the building we needed to take it up 25mm to 50mm higher than the level plane or post height stump plan that we decided on. Now we can hang each post from the bolts bolting it to the bearer, adjust the height of the top of the post by winding the thread up or down as shown in the following illustration.

(A) bolts with long thread
(B) bearer we are bolting to
(C) post top
We are getting ahead of our selves, first we need to make or purchase the posts. They come in many different variations to suite many different scenarios for reasons such as wind strengths or seismic activity.
Your building plans will specify sizes,how many and where there going etc as you would have gone through this with the engineer who drafted and engineered your new stump plan. However they won't show how and what tags you will need as they rarely would provide such detail.
The bearer in the illustration above shows one continuous bearer left to right however they are often a junction of two bearers so it will have 3 tags in a T shape, the corners of the building will have two bearers intersecting at 90 degrees so the top of the corner post will have two tags at right angles, some variations are shown in the illustration below.
Bottom line is every post needs to be planned by inspecting where each post will sit, how it will be bolted and what top support it needs to provide until you have a plan. You will be able to work out how many T's you need, how many straight through,s and how many right angle post tops you will need. As you may find out it doesn't always end there sometimes 4 tags are required and sometimes the tags or bearers run off at angles. There's only one sure way and that is to walk around and work each one out.
The length of the posts will vary with sloping ground each post height will also needed to be recorded or drafted on your post making plan. The length of post in the ground doesn't change so you can measure the distance from ground level to the bearer at each location.


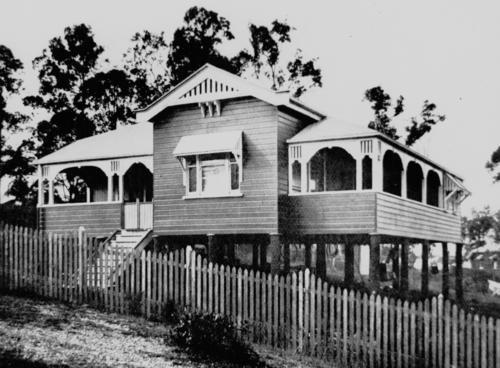
Image showing corner post and concrete finishing lower to allow for a concrete pad at a later date.
Once you made the plans for the individual posts, you can make the posts and it's time to hang them.
Holding them up one at a time in the location they are going is among the easier ways however two things need to be observed first, is the bearer straight and where each post will attach so that they are even and therefore a straight line at the top is achieved.
A string line is always good but the top of the posts need to be in a straight line if you string line the bottom. Highset houses dual string lines top and bottom are advisable as you want them plumb and straight and high posts are very noticeable if they are out and can prove difficult to build onto if you decide to close in the bottom storey or build additions.
If you have very straight bearers and lowset at around 900mm a level all round will most likely suffice.
If you skimped on the clearance height or the height above the level plane you may run into difficulty's here. If the top plate of the post comes in contact with the bearer before or at level point it will push the post in one direction or the other proving extremely difficult to hold plumb while you pour concrete. The posts need good clearance however to much will also hinder you ideal is as stated previously 25-50mm.
At this point your ready to pour concrete plumbing each post as you go. There are a couple of things that should be done at this point for rust prevention. A painted on membrane that is applied to the post 100mm either side of where the top of the concrete finishes and heap the concrete up to a mound highest at the point closest to the post so that any moisture runs away from the post and not into it or sitting around it.
The only time this can change if the holes or posts abut a concrete pad, then you need to finish at a point that won't hinder the concrete pad at a later date, usually finishing just below ground level will suffice and it is highly recommended you put a concrete bonding solution on the top of the post hole concrete to stop moisture penetrating and sitting under the slab.
This is shown if the image above where the concrete finishes low compared to the image following that shows it heaped or mounded up to the post.

Image showing concrete mounded up to allow moisture run off.
Be sure to double check your posts are straight and plumb as your pouring concrete and a final check on completion, small changes can still be made however once the concrete sets changes range from difficult to impossible.
Allowing approx 2-5 days for the concrete to harden you will then be able to lower the house down onto the posts and tighten all the bolts.
No comments:
Post a Comment